Metal roofing has become increasingly popular due to its durability, longevity, and aesthetic appeal. This comprehensive guide aims to walk you through the process of how to install metal roofing, covering everything from selecting the right materials to the final touches.
Understanding the Type of Metal Roof
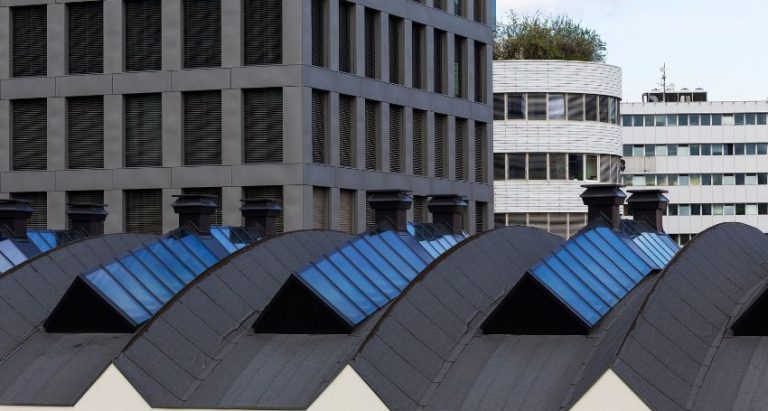
Before diving into the installation process, it’s crucial to understand the different types of metal roofing materials available. Common options include galvanized steel, aluminium roofing, and corrugated metal roofing. Each type has its unique characteristics and benefits, making them suitable for various architectural styles and climates.
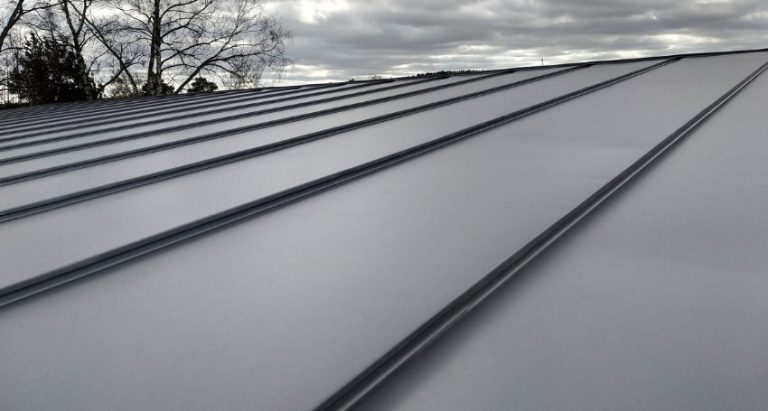
Types of Metal Roofing Materials
- Galvanized Steel: This material is steel coated with a layer of zinc roofing to prevent rusting, making it an excellent choice for longevity and durability.
- Aluminium Roofing: Known for being lightweight and resistant to corrosion, aluminium roofing is ideal for coastal areas.
- Corrugated Metal Roofing: Often used for its distinct look, corrugated metal is durable and provides excellent water drainage.
Metal Roof Installation: Getting Started
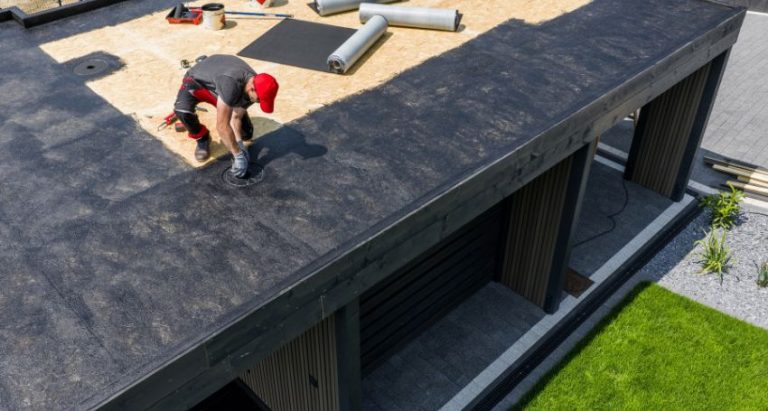
Once you’ve selected the type of metal roof that best suits your needs, the next step is the installation process. It’s important to note that while installing a metal roof can be a DIY project, hiring a professional roofing contractor is recommended to ensure the roof is properly installed.
Preparing for Installation
- Roofing Underlayment: This is a critical component as it provides an additional layer of protection against the elements.
- Tools and Materials: Gather all necessary tools and materials, including roofing screws, roofing nails, and metal roofing panels.
Metal Roofing Tips: Best Practices
- Measure Twice, Cut Once: Ensuring your metal roof panels are cut to size accurately is crucial for a seamless installation.
- Use the Right Fasteners: Selecting the right type of roofing screws and nails is essential for the integrity of your roofing system.
Step-By-Step: Installing a Metal Roof
1. Preparing the Roof Surface
Ensure that the roof is clean and free from any debris. If you are installing over an existing roof, check for any damages or areas that need repair.
2. Installing the Underlayment
Lay down the roofing underlayment according to the manufacturer’s instructions. This layer is vital for waterproofing and insulation.
3. Laying the Metal Panels
Start at the bottom of the roof and work your way up. Secure the metal roof panels using roofing screws, ensuring they are evenly spaced and driven straight.
4. Sealing and Finishing
Apply sealant along the edges and joints to prevent leaks. Install the ridge cap at the top of the roof as the final step.
Metal Roofing Tips: Finishing Touches
- Inspecting Your Work: Once the installation is complete, conduct a thorough inspection to ensure every panel is securely in place.
- Maintenance: Regular maintenance is key to extending the life of your metal roof.
Installation Process: Ensuring Quality
A well-executed installation process is crucial for the longevity of your metal roof. Here are some key points to consider:
- Professional Roofing Advice: If unsure about any step of the process, consult with a professional roofing contractor such as Zinc & Copper Works.
- Following Manufacturer’s Guidelines: Adhere strictly to the guidelines provided by the manufacturer of your roofing material.
Conclusion
Installing a metal roof can be a challenging yet rewarding project. By understanding the types of metal roofing materials, preparing adequately, and following the installation steps carefully, you can ensure your roofing system is properly installed and will last for years. Remember, the benefits of a metal roof go beyond aesthetics; they offer durability and energy efficiency, making them a worthwhile investment for any homeowner.